


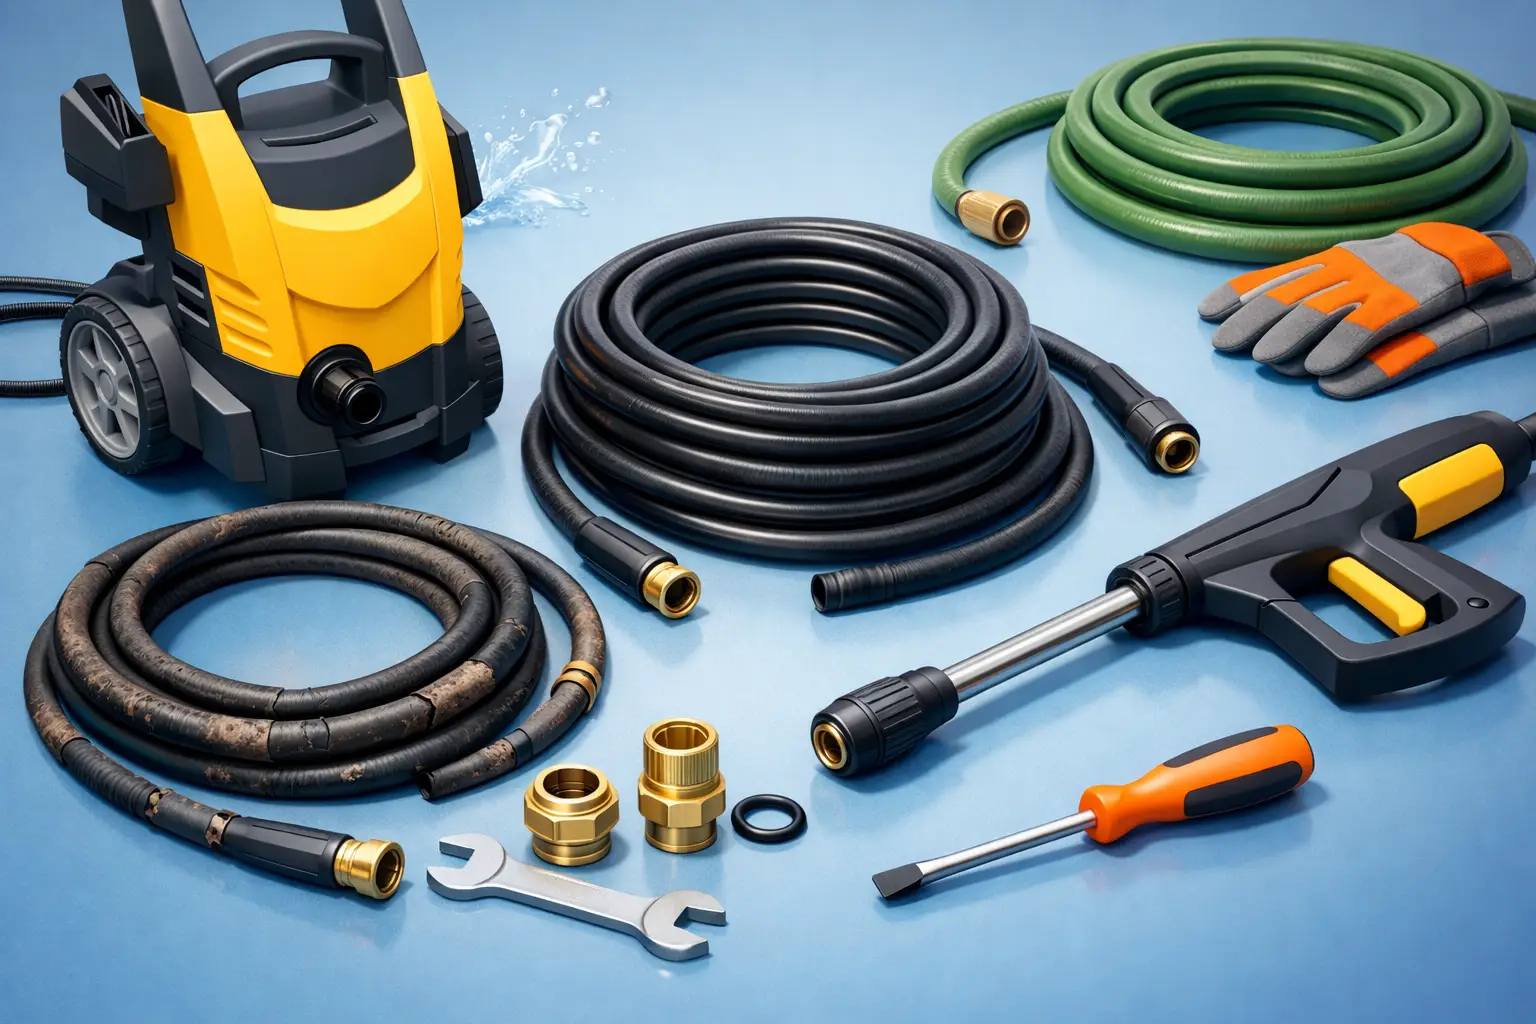
A pressure washer usually gives you plenty of warning before the hose gives up. You might notice a fine mist spraying from the line, a split near the connector, or a hose that has become stiff, kinked and awkward to use. When that starts happening, replacing the pressure washer hose is often the most sensible fix. It is usually quicker, cheaper and far less wasteful than replacing the whole machine.
The excellent news is that this job is one of the more straightforward pressure washer repairs for most homeowners. The part that matters is getting the right hose for your model and pressure rating. If you match it properly and fit it carefully, you can get your machine back to reliable working order without much fuss.
When a pressure washer hose replacement is needed
Some hose faults are obvious. If water is leaking through a split in the outer line, the hose needs replacing. The same applies if the connector has cracked, the crimp has failed, or the hose has started blistering. Once the structure of the hose is compromised, do not risk patching it or making a makeshift repair.
Other signs are more gradual. A hose that has become brittle, flattened in places or repeatedly kinked may still work, but not for long. You may also notice pressure loss at the lance, inconsistent spray, or dripping around the hose ends. In some cases, the issue is actually with an O-ring or coupling rather than the full hose, so it is worth inspecting the connection points before ordering.
Age and storage habits play a part here. Hoses left twisted on the ground, dragged over rough paving or stored tightly wound in cold sheds tend to wear out faster. Domestic machines often fail at the ends first, because those areas take the most flex during use.
Check the fault before you buy
Before ordering a new hose, please take a few minutes to confirm the problem. Start with the machine switched off and disconnected from the power supply. Turn off the water feed and squeeze the trigger gun to release any trapped pressure. Only then should you inspect the hose.
Look closely at the full length of the line. Small pinhole leaks can be easier to spot if the hose is dried and checked under good light. Examine both ends for damaged threads, worn seals or loose fittings. If water has only been escaping at the connection, a replacement seal may solve it. If the hose body itself is damaged, replacement is the safer option.
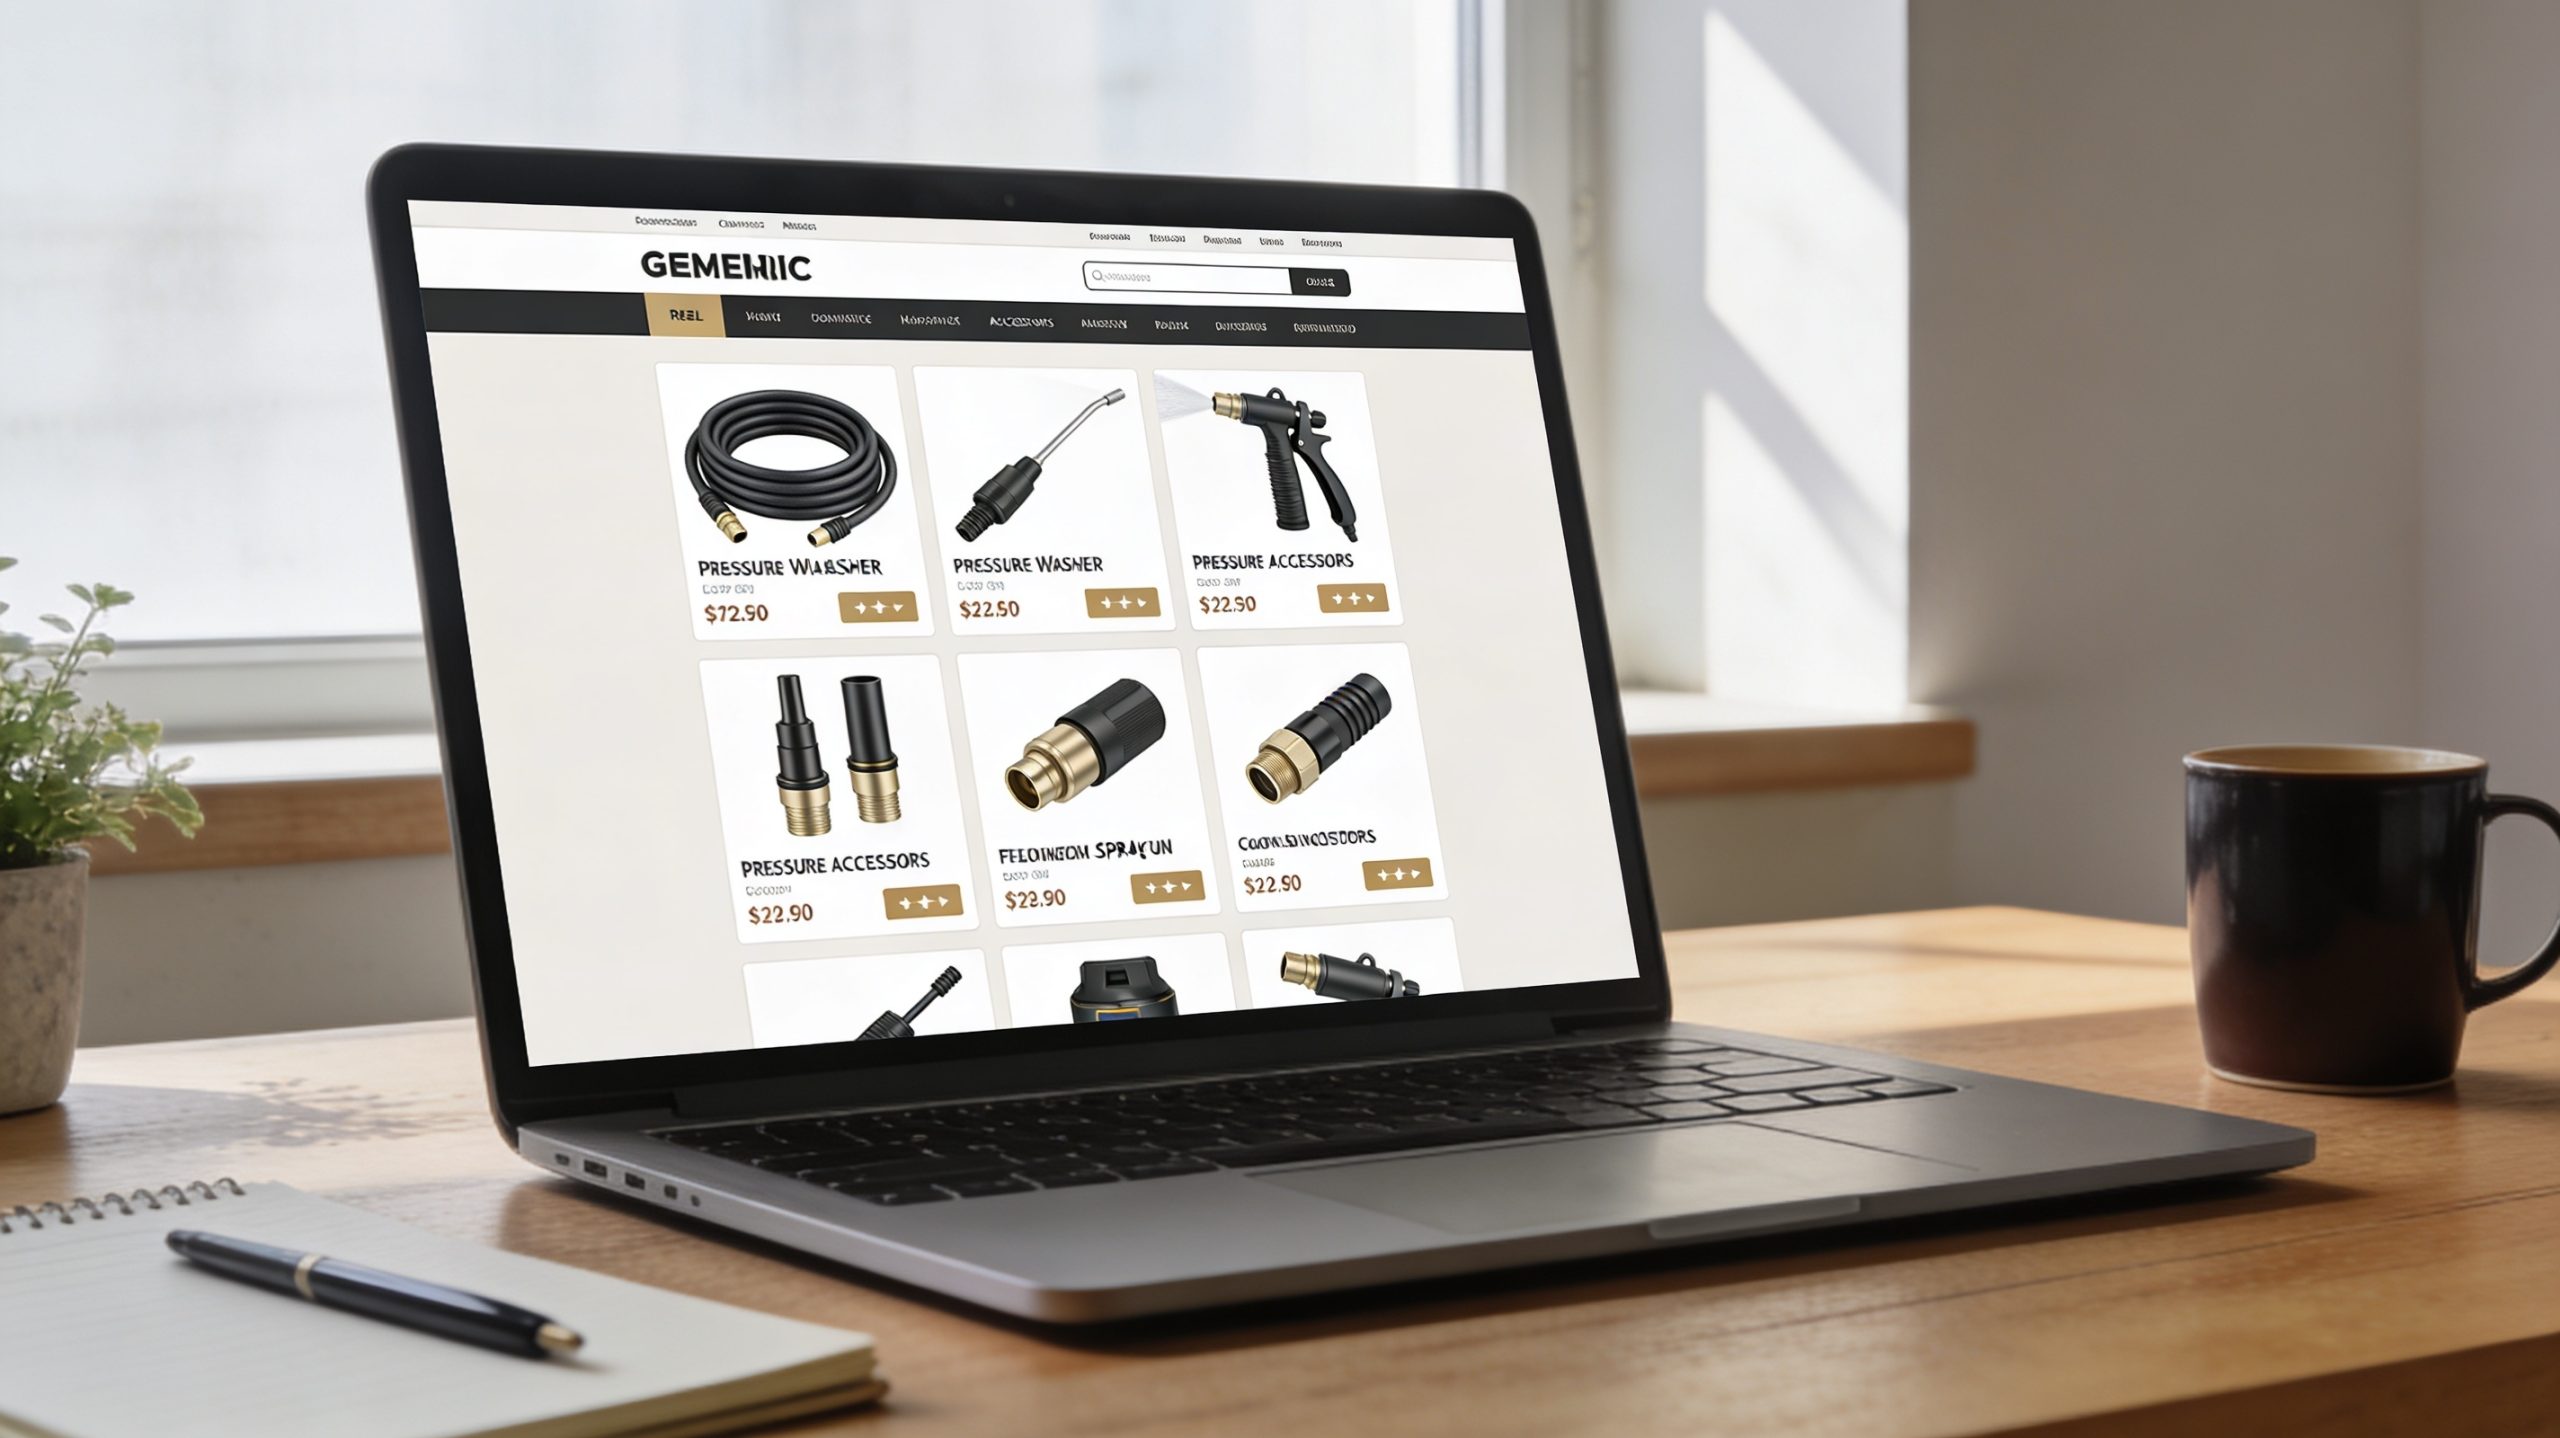
This area is also the point to read the model plate on the machine. Pressure washer parts are not interchangeable, and matching the model saves time. Two hoses can look similar but use different couplings, lengths or pressure ratings.
Choosing the right replacement hose
The biggest mistake with replacing a pressure washer hose is buying a hose that physically fits one end but is wrong for the machine overall. A proper match depends on more than length alone.
Start with compatibility. The safest route is always to search by model number and brand. That helps you find a hose designed for your exact machine or a compatible alternative that matches the original specification. If you are comparing manually, check the connector type at both ends, the hose length, the maximum pressure rating and whether it is intended for domestic or heavier-duty use.
Pressure rating matters more than many people expect. A hose that is under-rated for the machine can fail prematurely, and that can be dangerous. Going longer than the original hose can also affect performance, especially on smaller domestic pressure washers. A longer hose gives more reach, which is useful, but it may reduce lance pressure if the machine is not designed for it. For many households, sticking close to the original length is the sensible choice.
Material matters too. Some hoses are more flexible and easier to handle, while others are built for tougher use and better abrasion resistance. If you use your machine occasionally for patios, cars, and garden furniture, a standard domestic replacement is often enough. If it sees frequent use on larger outdoor jobs, a more durable hose may prove better value over time.
Pressure washer hose replacement step by step
Once you have the correct part, the fitting process is usually straightforward. You do not need specialist workshop skills, but you do need to work safely and avoid forcing any connection.
First, unplug the machine and disconnect the water supply. Squeeze the trigger on the gun to release any remaining pressure. If you have used the machine recently, give it a few minutes to settle before you start removing parts.
Next, disconnect the old hose from the pressure washer body and from the trigger gun or lance assembly. Depending on the model, the process may involve a screw fitting, quick-release connector or locking clip. If a fitting feels stuck, avoid using excessive force. A damaged connector housing creates a bigger repair than the one you started with.
With the old hose removed, compare it directly with the new one. Check the ends, the length and the connector style. This quick check can save a lot of frustration later.
Now attach the new hose to the machine end first, then connect the trigger gun or lance end. Make sure each connection is seated properly and tightened correctly. Hand-tight is often enough for threaded fittings unless the manufacturer specifies otherwise. Over-tightening can damage threads or flatten seals.
Before full use, run a cautious test. Reconnect the water supply, allow water to flow through the machine, and check it while the machine is still off. Then power it on and test the trigger at low intensity if possible. Watch both ends of the hose carefully. If you notice any drips, please stop and inspect the seals and fittings again.
Common problems after fitting a new hose
If you install the new hose but the washer still does not feel right, the hose may not be the only issue. A blocked nozzle, inlet filter restriction, worn seals in the gun, or pump-related faults can also cause low pressure. Replacing the hose will not cure those problems.
Leaks at the ends usually point to a seal, connector or fitting issue rather than a defective new hose. Check that any O-rings are present, in good condition and correctly seated. If the hose seems difficult to thread or click into place, stop and confirm compatibility. Similar-looking fittings can be misleading.
A hose that twists badly during use may simply need laying out fully before operation. New hoses can retain some coil memory from packaging. That often improves after a few uses, provided the hose is stored properly afterwards.
How to make the new hose last longer
A replacement hose should not be treated as a disposable item. A few simple habits can make a noticeable difference to lifespan.
Avoid dragging the hose over sharp edges, rough brickwork or gravel where possible. Do not run over it with garden equipment or trap it under wheels. Try not to yank the machine by the hose when repositioning it, even for short distances. That is a common cause of connector strain.
After use, release the system pressure and drain excess water from the hose before storage. Coil it loosely rather than wrapping it into a tight, forced loop. If you store the pressure washer in an unheated garage or shed, keeping the hose dry and out of severe cold helps prevent premature hardening and cracking.
It is also worth checking the hose occasionally during routine cleaning jobs. Spotting wear early can prevent a sudden failure halfway through a job.
Repairing instead of replacing the whole machine
When a pressure washer starts leaking, many people assume the machine is nearing the end of its life. In reality, a worn hose is often just a service part issue. Replacing the hose can restore safe, usable performance at a fraction of the cost of a new pressure washer.
That repair-first approach makes sense financially, especially if the motor, pump and trigger assembly are otherwise working well. It also cuts unnecessary waste. For a machine that still does its job, fitting the correct replacement part is usually the more practical decision.
When in doubt about which hose is compatible with your pressure washer, begin by checking the model number instead of relying solely on its appearance. That one step removes most of the uncertainty and makes the repair much easier. A reliable spare part does more than just get the machine running again – it gives you confidence that the next clean-up job will go as planned.

